My Network
Why Create a Custom Network
My internet coverage was bad with my previous router. In my apartment I couldn’t even get a signal just across my living room with my old router. So I decided to create a custom network because I thought it would be fun, even if it would be slightly more expensive. I could have gotten an all in one router that would have worked great but I wanted to do something else and I wanted to give an old computer a retirement.
Hardware & Software Selection
To create a home network you are going to need hardware, specifically you’ll probably need the following
1: A Router
2: Networking Cables
3: A Switch
4: A Wireless Access Point
5: An OS
A Router
You can buy specially build Routers that will be power efficient and cost-effective, however that would go against on design parameter that I had. I wanted my old computer to be retired, so instead of purchasing a router I bought a 2 port Intel 1G NIC (Network Interface Card) and I also needed new RAM so I bought an 8Gb stick, and an 256Gb SSD.
A Switch and Wireless Access Point
The next step once you have your Router hardware figured out is to get your Switch and Wireless Access Point. For me I decided to go with Ubiquiti. Their hardware management tools are easy to use and they have reasonable prices on their equipment. And because I bought a Ubiquiti Wireless Access Point and a Ubiquiti Switch for convenient management of my hardware, and a PoE injector to power my Wireless Access Point
OPNsense
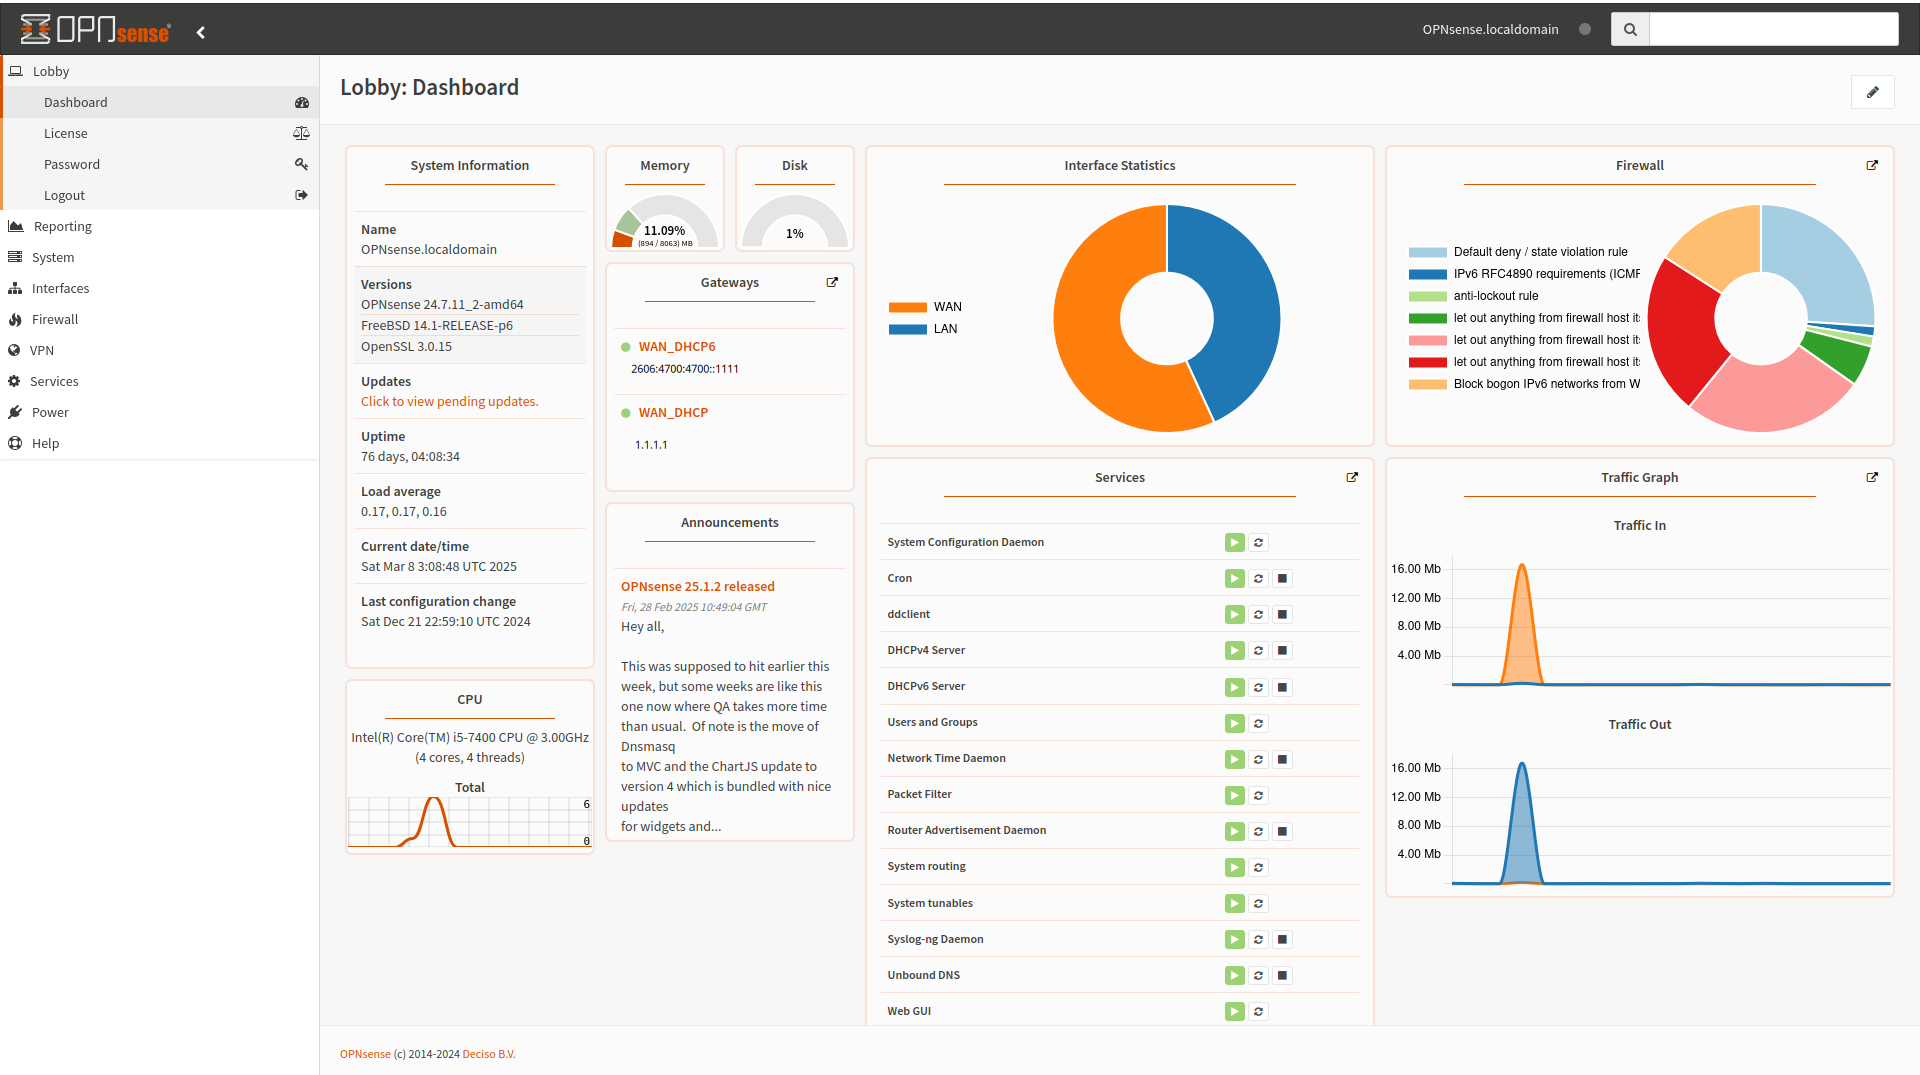
Once you have that You must choose your OS. For me OPNsense was the logical choice. Being a fork of pfSense, however being more intuitive it was good enough for me.
Hardware Installation
Once everything arrived I set the computer on its side and installed the NIC in the PCIe slot and RAM by pushing the 2 tabs down and away from the slot, then pressing it in with gentle pressure till I heard a click.
Software Installation
In order to install an OS on a computer I downloaded the amd64, vga version of the OS and used Rufus to create the bootable USB. Then I plugged it in and got to the BIOS where changed the boot order to start with USB. I rebooted then I went through the Installation guide while watching a real guide at the same time. I choose ports on my NIC to be the Interfaces. One of them to by my WAN interface (Wide Area Network) and the other to by my LAN interface (Local Area Network) Then I put my OS on the SSD. Rebooted and got back into the bios changed the boot order to start with my SSD, then completed the Installation. I changed the default password and made a few users and I was good to go.
Hardware
At the same time I was doing the software installation I was also doing the hardware. I wired up from my modem to my Router on the WAN interface to connect the internet. Then a plugged in my LAN interface to my network switch so I could connect a PC and my Wireless Access Point to the router. I also plugged in the PoE Injector so I could power my router. I set it up through the web interface and got it working as well.
Results
All of that resulted in me having ripping fast Wifi and being able to use the full 1GB of internet bandwidth that I was paying for. I had a lot of fun, frustration, and got the opportunity to learn about Networking.
